Backroads Around Las Vegas, Red Rock Canyon National Conservation Area
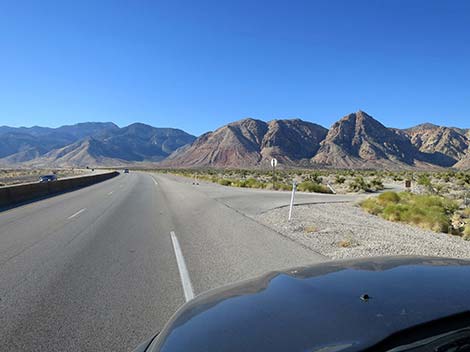
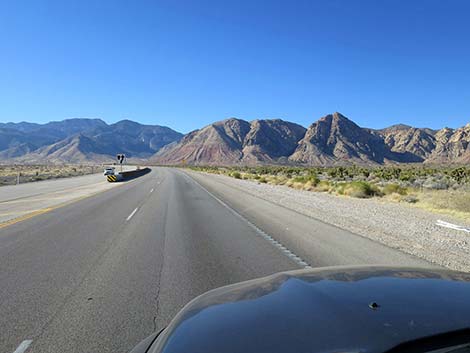 Highway 160; center divider begins beyond Late-Night trailhead |
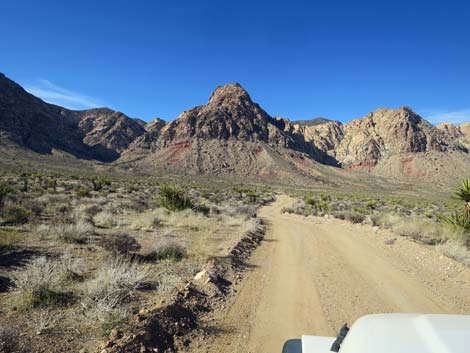
Overview Wildhorse Road (sometimes referred to as Wildhorse Loop Road) is a partially maintained backcountry road north of Highway 160 (the road to Pahrump) that provides access to the wild backcountry of Red Rock Canyon National Conservation Area and the base of the Red Rock Escarpment. Wildhorse Road makes a horseshoe-shaped loop, but one section at the bottom of the horseshoe absolutely requires 4WD. The east and south sides of the horseshoe are occasionally maintained and suitable for 2WD-HC vehicles. The west side is not maintained, but it usually is suitable for 2WD-HC vehicles. Wildhorse Road is 2.9-mile loop that runs through the desert between Mustang Hill and the Red Rock Escarpment. Camping is not permitted along the road. The road is described here in the counter-clockwise direction. If driving in the other direction, see Wildhorse Road-clockwise. Link to map. |
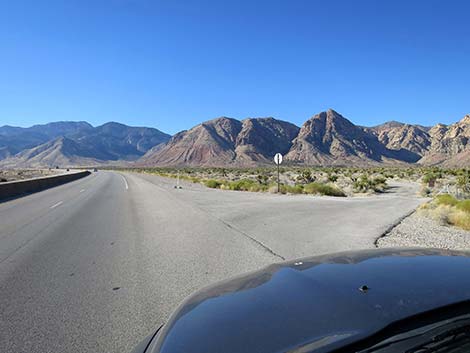
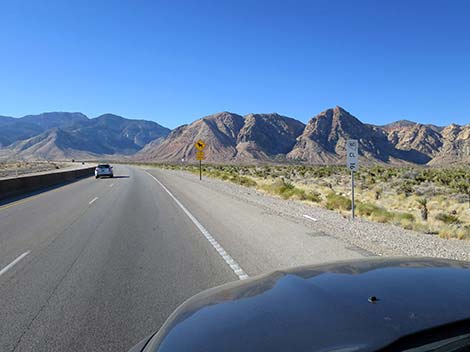 Highway 160 at Mile Marker 16 (view SW) |
Watch Out Other than the standard warnings about driving in the desert, ...this is a 4WD road. Under normal conditions, the road is suitable for any 4WD, but I would stay off the road if it is muddy. A ravine about 0.2 miles out has been graded to make it easier than before, but I spun the jeep tires climbing out the other side in 2WD. Another ravine about 1.1 miles out, and a 0.2-mile-long section of soft gravel near the end of the road normally require 4WD vehicles, but otherwise a 2WD-HC vehicle is fine. The ravines are somewhat easier to cross while driving outbound than when coming back (if not completing the loop). While out, please respect the land and the other people out there, and try to Leave No Trace of your passage. Also, even though this road is short, be sure to bring what you need of the 10 Essentials. |
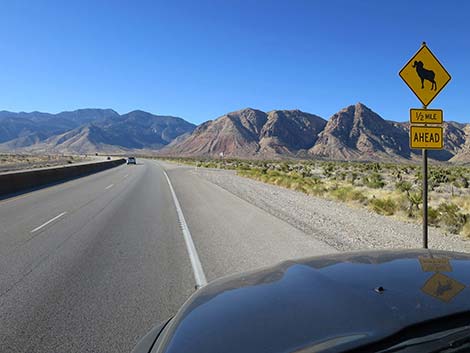 Highway 160 at sign: Watch for Bighorn Sheep (view SW) |
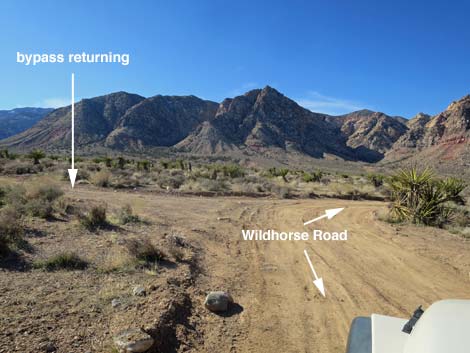
Getting to the Roadhead From town, drive out to Red Rocks. From West Charleston at the entrance to the Scenic Loop Road (Table 1, Site 0519), continue west on Charleston Blvd (Hwy 159) all the way past Blue Diamond town to Highway 160 (Site 0848). Turn right onto Highway 160, towards Pahrump, and drive west for 5.0 miles. Watch for the paved Late Night Trailhead Parking area, which is 0.3 miles before Wildhorse Road. There is no road sign, but watch for a green "Passing Lane 1 Mile" sign and Mile Post 16 on the right just before the turnoff. A paved roadway apron, a cattle guard, and a gap in the roadside fence on the right side of the highway mark the beginning of Wildhorse Road (Site 1090). There is no exit lane. Wildhorse Road makes a "loop" of sorts. The west end of the loop (Site 1089) returns to Highway 160 about 0.7 miles farther up the highway. |
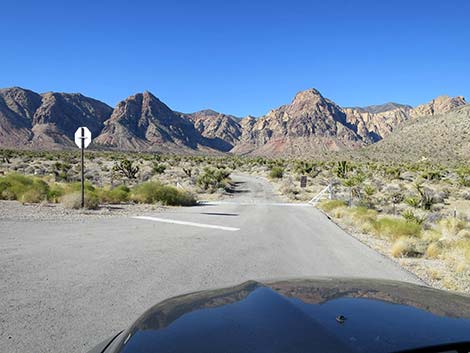
 Highway 160 approaching Wildhorse Road (view W) |
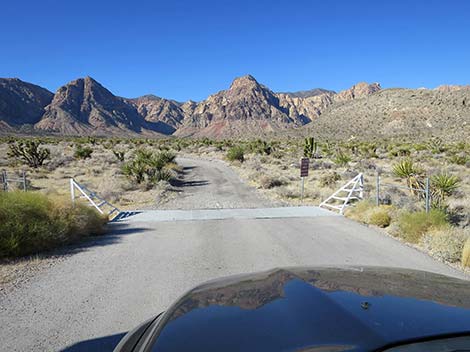
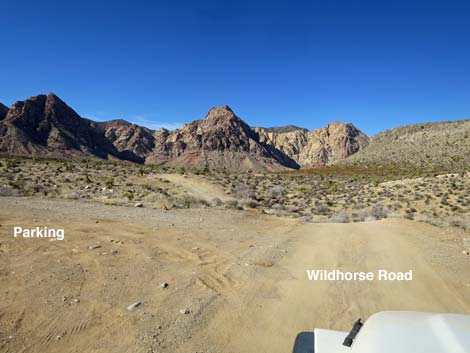
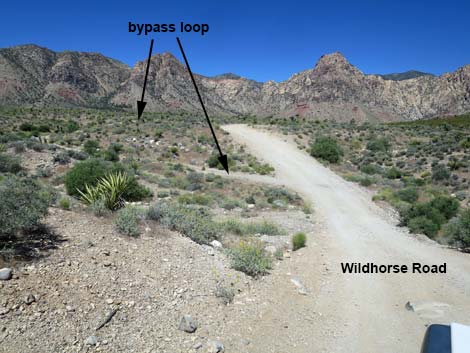
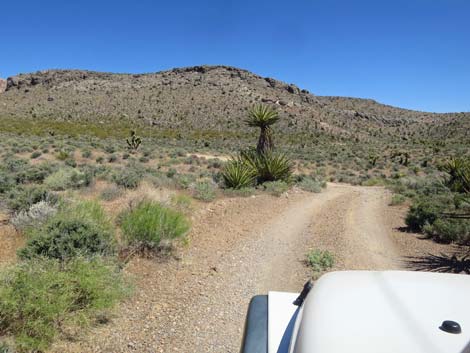
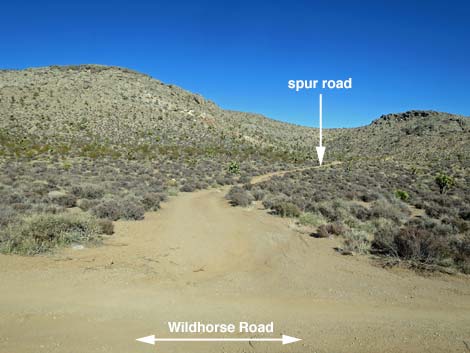
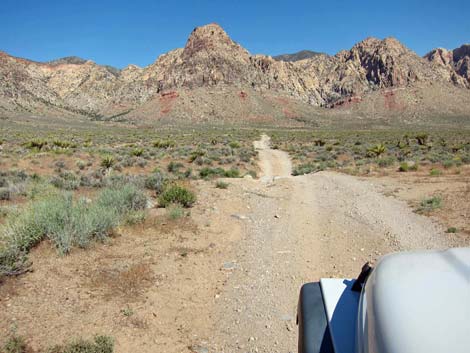
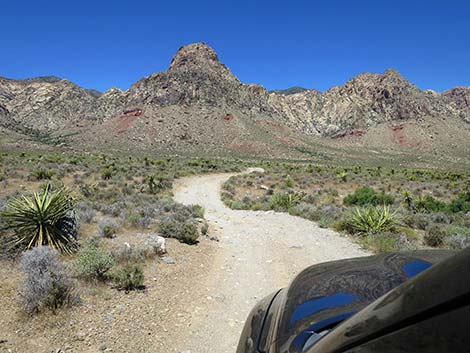
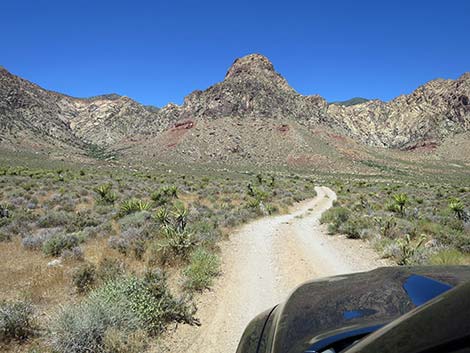
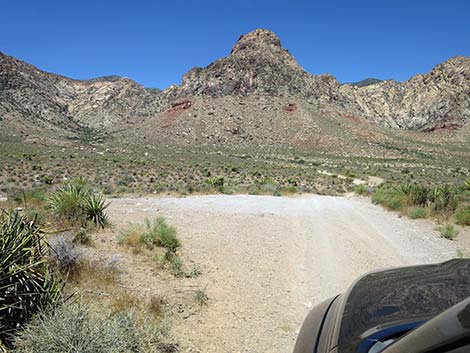
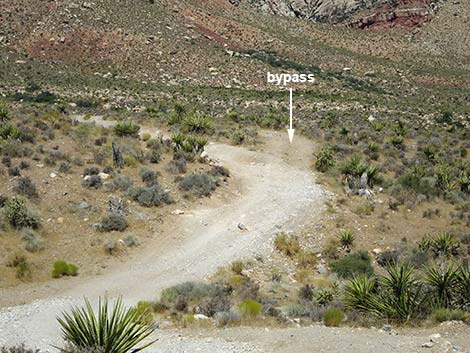
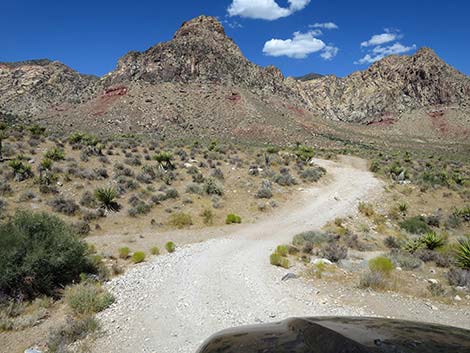
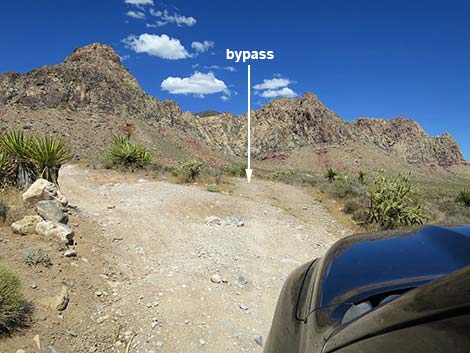
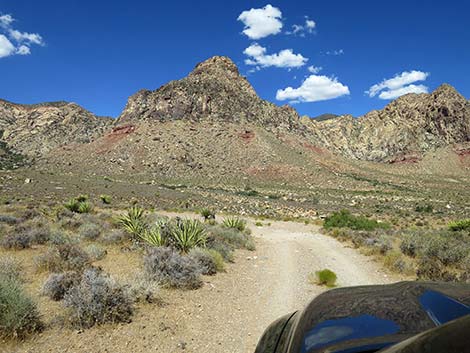
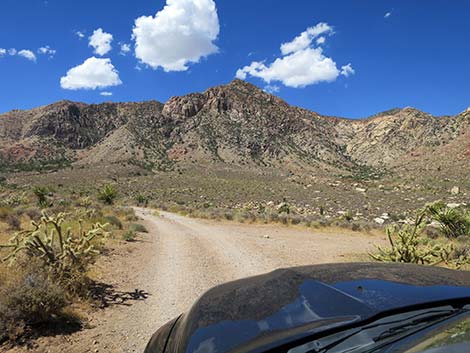
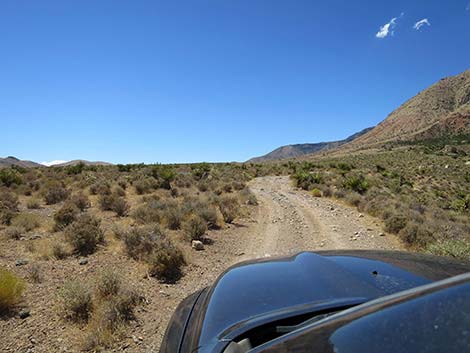
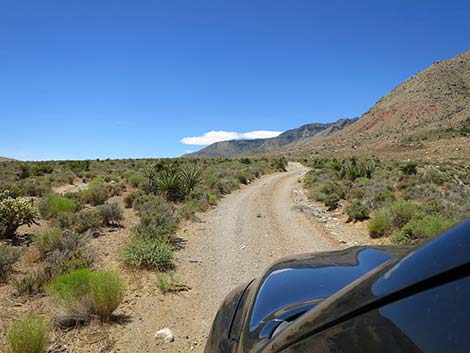
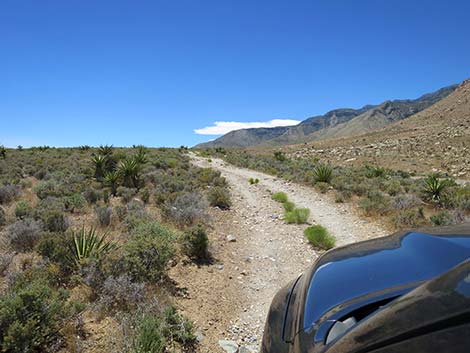
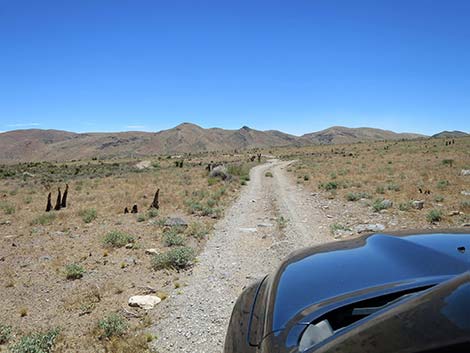
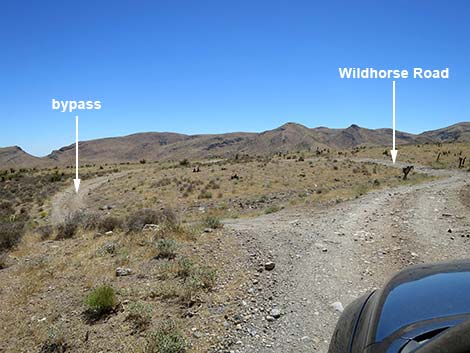
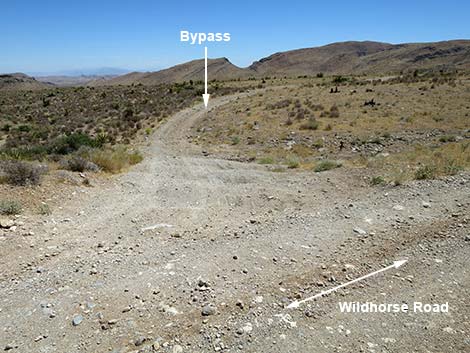
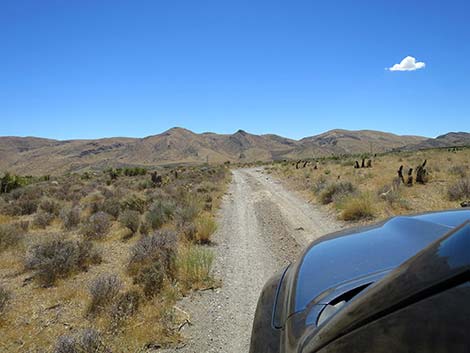
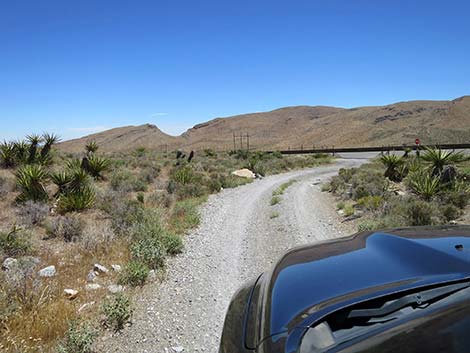
The Road From the pavement (Site 1090), Wildhorse Road crosses a cattle guard and runs northwest angling away from the highway. Bike trails and closed roads crisscross near the highway, but the winding Wildhorse Road generally is obvious as it bends to the left and then to the right. There is some parking in this area. At only 0.20 miles out, the road arrives at the edge of a deep ravine. Road conditions here change, and sometimes continuing straight is great fun or folly, but a bypass winds around to the left. The "bypass," such as it is, would require 4WD to climb back out. At the bottom of the ravine, another bypass climbs out to the left. Other times, continuing straight is the easy route and both bypasses are washed out. Stop at the edge, survey the options, and use your good judgment. At 0.35 miles out, Wildhorse Road passes a short spur road to the right. The spur road runs out only 400 feet to the northeast and ends at nothing, so the purpose of the road is unclear, as is the willingness of the BLM to leave it open. |
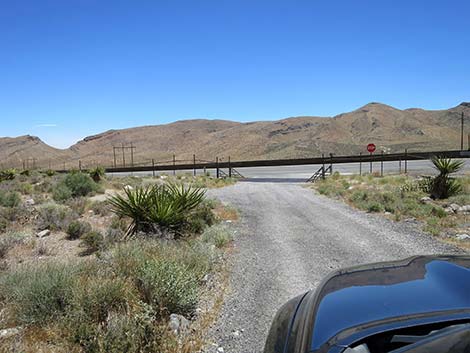
 Highway 160 at Wildhorse Road (watch for stop sign; view W) |
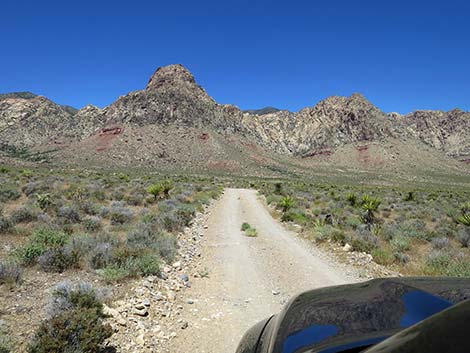
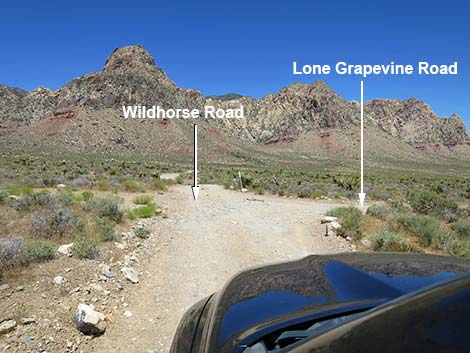
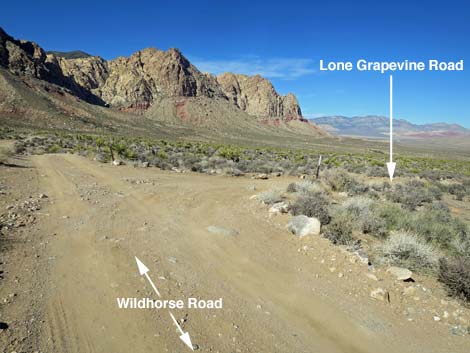
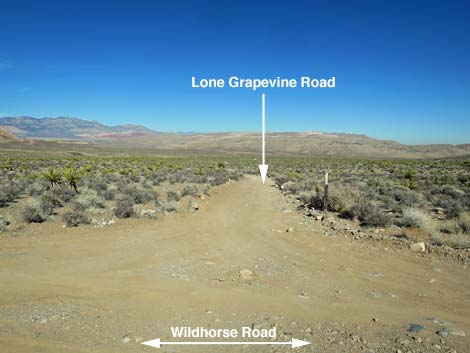
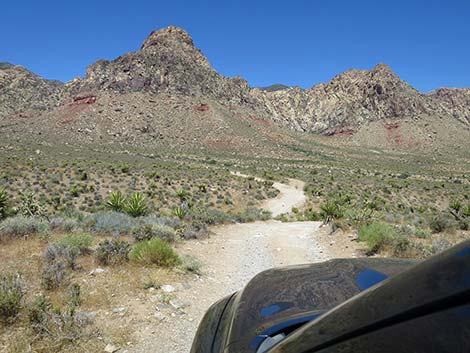
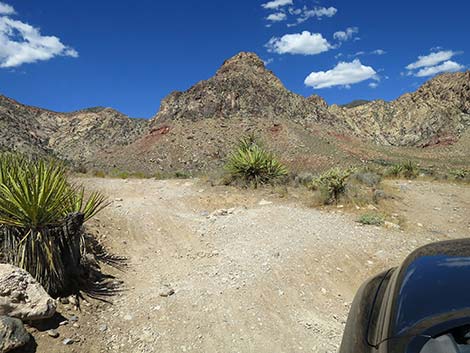
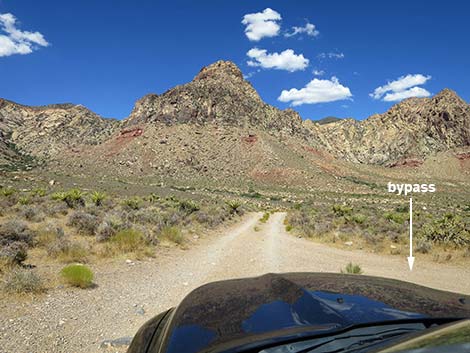
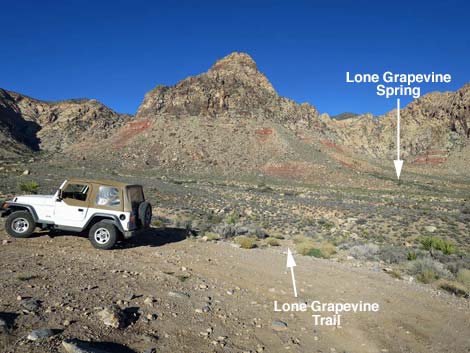
At 0.65 miles out, the Wildhorse Road dips into another ravine. As with the first ravine, the road straight is either fine or quite steep and dug out, but a bypass runs around to the left. Again, check the options before committing. At 0.96 miles out, the Wildhorse Road passes Lone Grapevine Road on the right (Site 1085). Lone Grapevine Road runs northeast and connects to Black Velvet Road and normally is 2WD-HC road. At 1.09 miles out, the road passes a small parking area (Site 1086) on the left, dips very steeply into another ravine, and climbs straight out the other side. Trying to come back this way, climbing out of this ravine would be a problem in a 2WD-HC vehicle, so some hikers heading towards Lone Grapevine Spring or Wooden Fence Spring park here and walk the remaining 0.1 miles to the Lone Grapevine Trailhead and 0.3 miles from Wooden Fence Spring Trailhead. At 1.19 miles out, the road arrives at Lone Grapevine Trailhead Parking (Site 1075). This parking area provides access to Lone Grapevine Spring, Wooden Fence Spring, and miles of mountain bike trails. The road condition becomes more rocky beyond this point. |
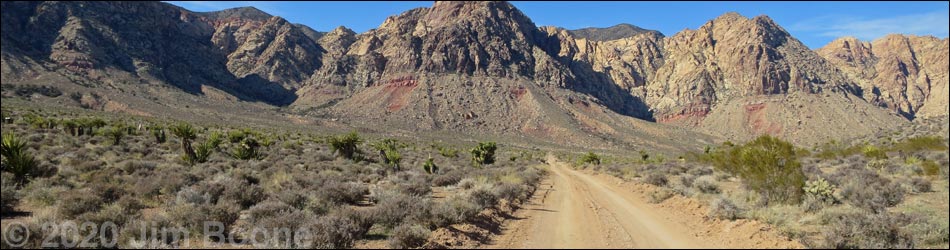
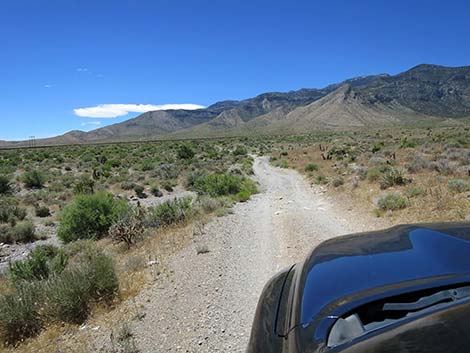
 Wildhorse Road (view NW from Highway 160) |
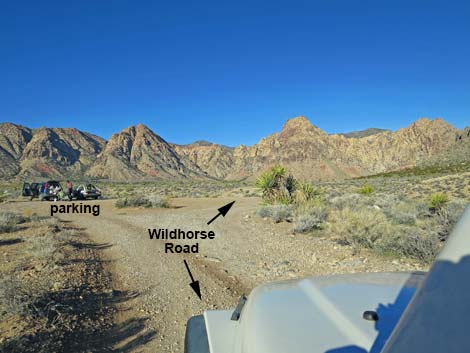
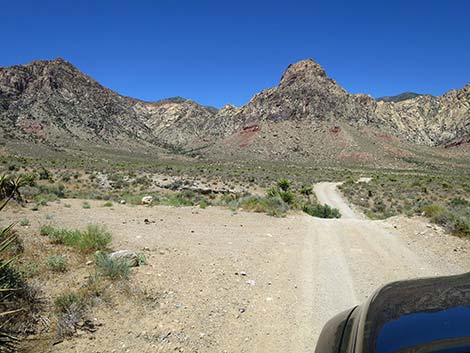
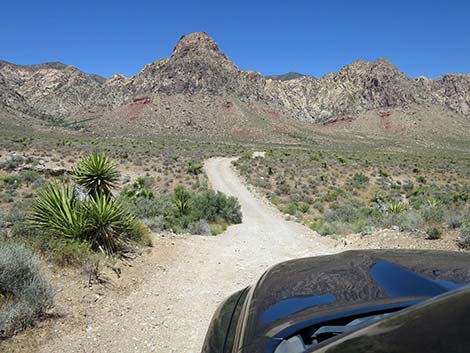
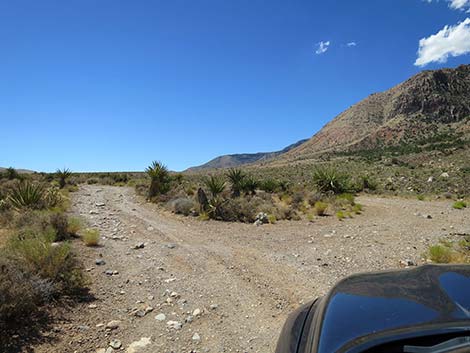
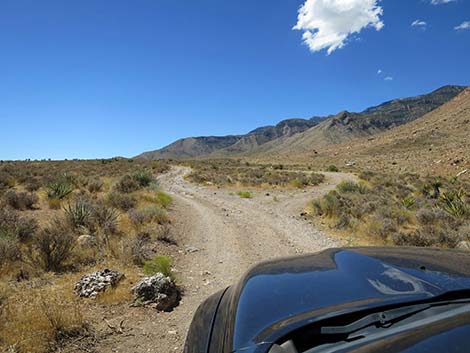
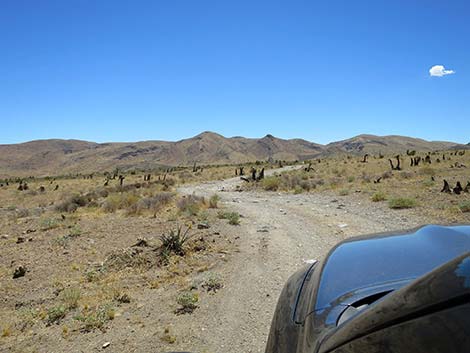
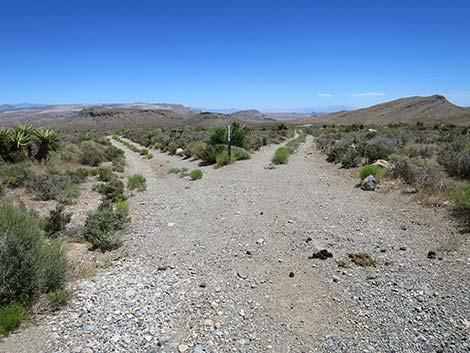
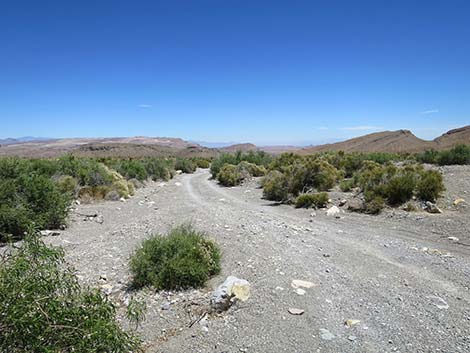
The road bends hard to the left at Lone Grapevine Trailhead and runs southwest to another parking area where the road again bends hard to the left and runs southeast. The road passes a third parking area (Site 1092) that provides the shortest trail access to Wooden Fence Spring. The road generally runs south from there with a few rocky spots, but it is still a fine 2WD-HC road. At about 2.08 miles out, the road passes a traditional camping area off to the right, and although it obviously gets use, camping is illegal in this area. Beyond the old campsite, the road bends to the left to run southeast. At about 2.26 miles out, the road used to dip steeply into another ravine, but the bypass now serves as the main road. At 2.42 miles out, the road arrives at a somewhat confusing 5-way intersection (Site 1987). The two roads to the left and one right are closed, but the roads left obviously get illegal use. Wildhorse Road continues ahead to the right; sometimes it is signed, but it is the most heavily used road. |
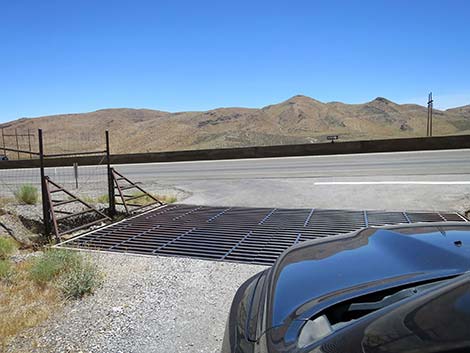
 Wildhorse Road at cattle guard (view NW) |
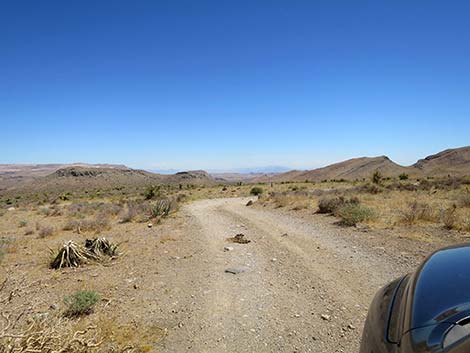
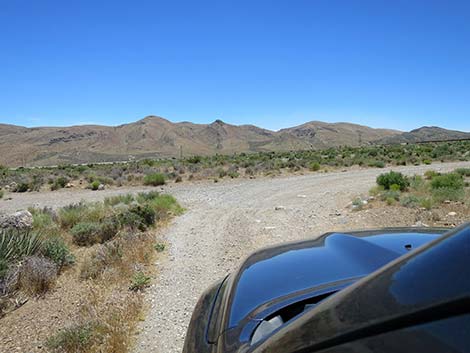
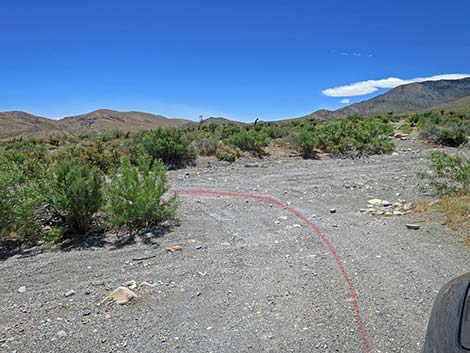
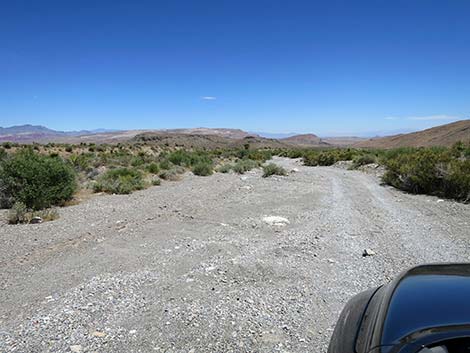
Continuing ahead to the right, the road runs southwest along the edge of a bluff overlooking a broad gravel wash (Cottonwood Valley Wash), then gradually angles down into the wash. The road gets rougher approaching the bottom of wash, and depending on the recent flooding history, can deteriorate into a 2-track road. At 2.55 miles out, the road drops into the gravel wash and turns very hard left to run northeast down the wash. There is no road here, just tracks in the gravel for about 0.2 miles. The tracks tend to the right, but the best route is not always obvious. The tracks eventually cross the wash to the right and climb onto firm ground. In 2WD vehicles, the soft gravel in the wash would make me nervous about getting stuck. For people in 2WDs driving the other direction, there is a parking area on the south side of the road just before it enters the wash. In another 0.1 miles, for a total of 2.89 miles, Wildhorse Road returns to Highway 160 (Site 1089) where another asphalt apron, cattle guard, and gap in the roadside fence mark the end of the adventure. Turn right onto Highway 160 and drive west 250 yards to a break in the center divider at Cottonwood Valley Road before returning to Las Vegas. |
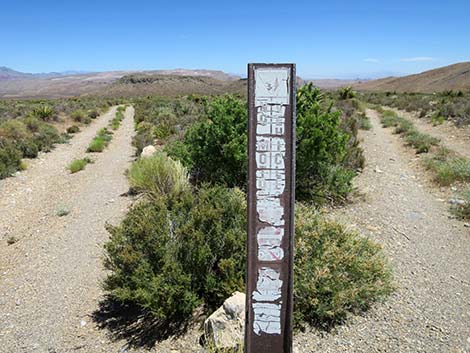
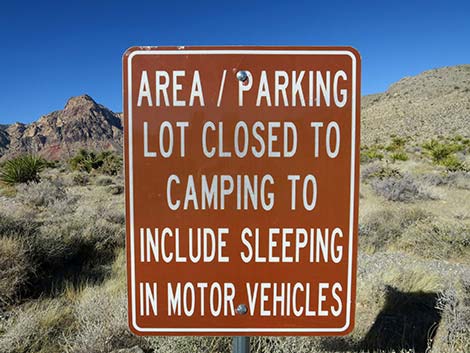 Wildhorse Road sign: No Camping in this area (view NW) |
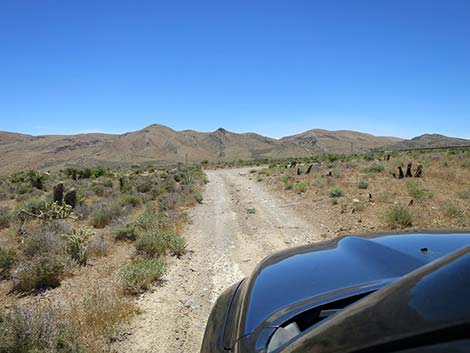
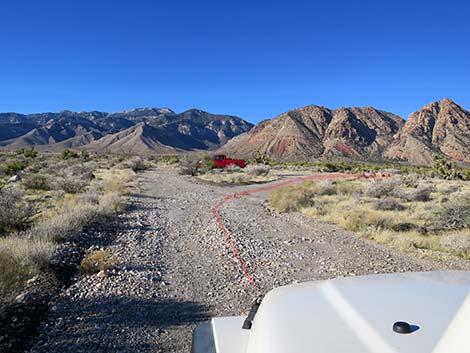 Approaching parking area near highway fence; stay right (view NW) |
 Staying right on main road past the parking area (view NW) |
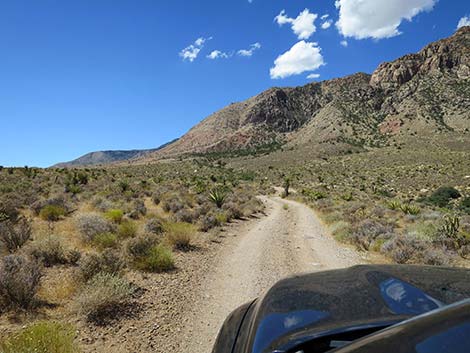
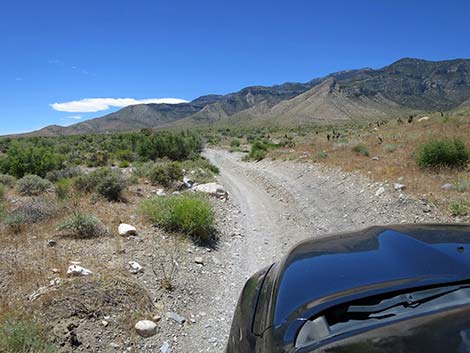
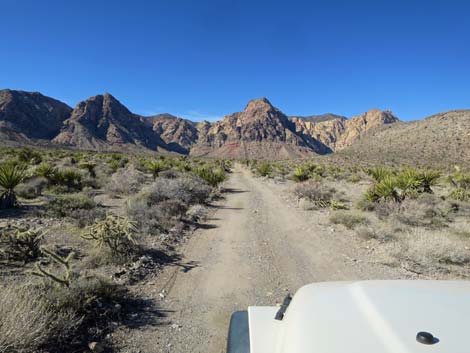 Wildhorse Road (view NW) |
 Approaching 2nd parking area (view NW) |
 Continuing on main road (view NW) |
 Wildhorse Road dips through a gully (view NW) |
 The steep hill is getting a bit dug out from spinning tires (view NW) |
Steep-Hill Bypass
 The bypass is a bit narrow with some rocks ... |
 ... and a not-so-steep hill (view NW) |
 After the hill, a nice bit of road (view NE) |
 Returning to the main road (view NE) |
Continuing on Wildhorse Road
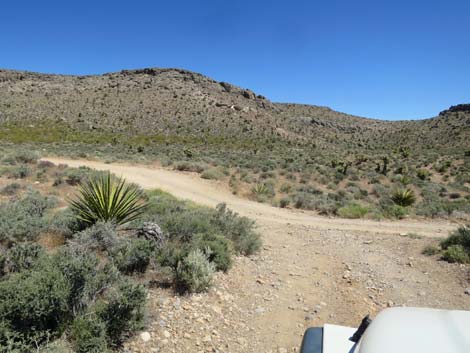
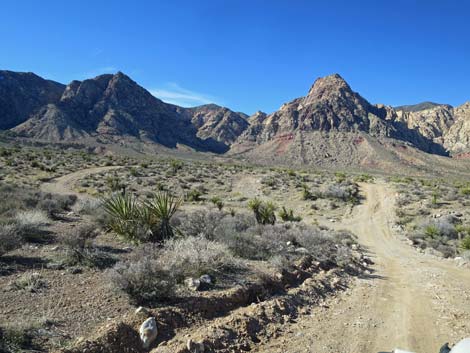
 Bypass returns to the main road (view NW) |
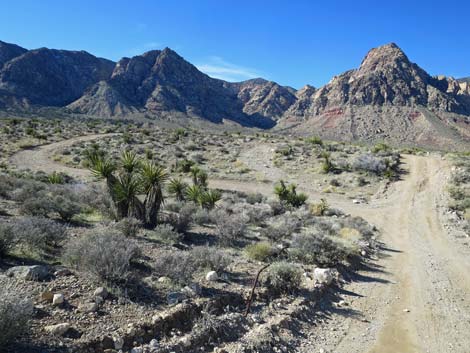
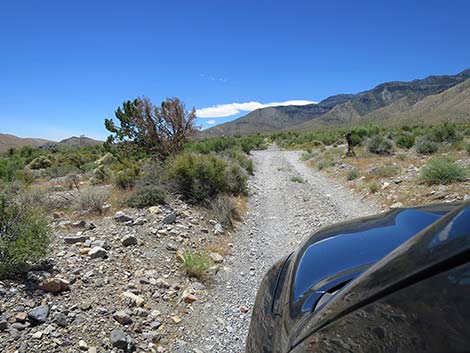
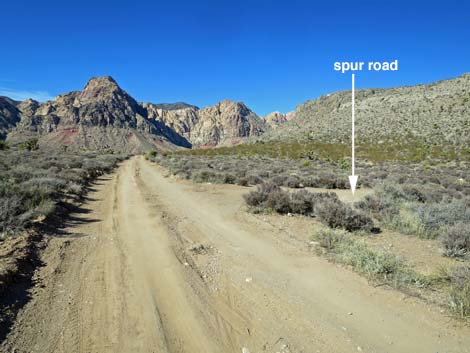 Wildhorse Road approaching spur road to nowhere (view NW) |
 Spur road to nowhere (view NE from Wildhorse Road) |
 Bike trail crossing Wildhorse Road (view NW) |
 |
 |
 Wildhorse Road approaching steep hill and bypass (view NW) |
 Moderate drop then steep hill and bypass (view NW) |
 Steep hill and another bypass (view NW) |
 Bypass to the left returning to the main road (view NW) |
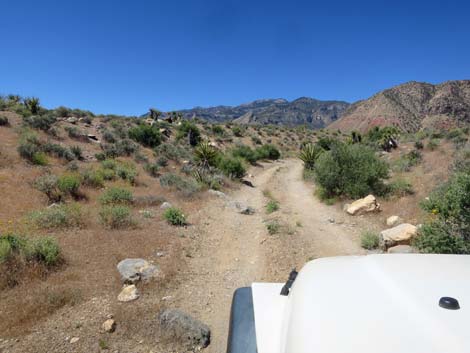
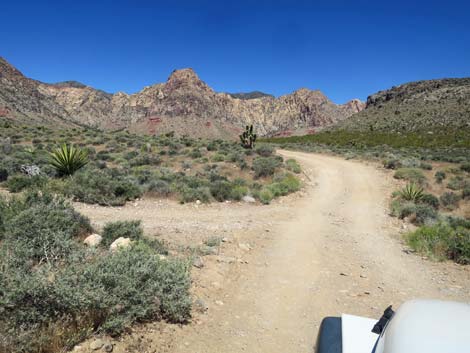
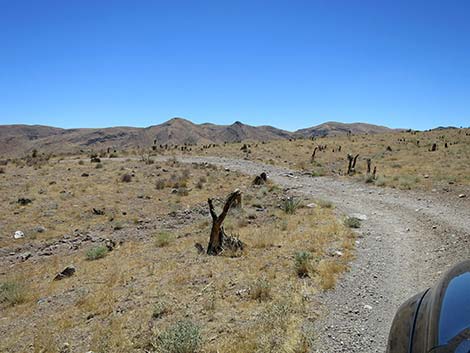
 Wildhorse Road winding across rolling terrain (view NW) |
 Wildhorse Road at a small parking area (view NW) |
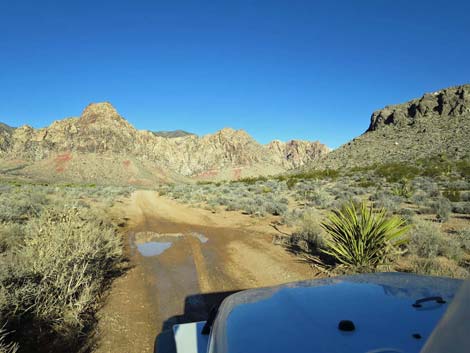
 Wildhorse Road dips through a wash (view NW) |
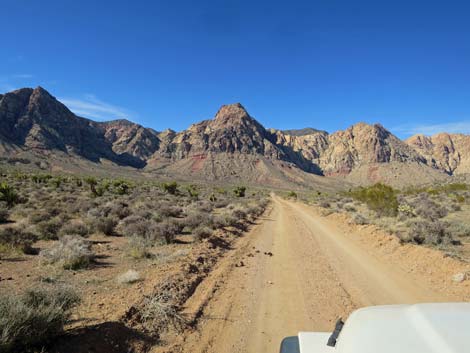
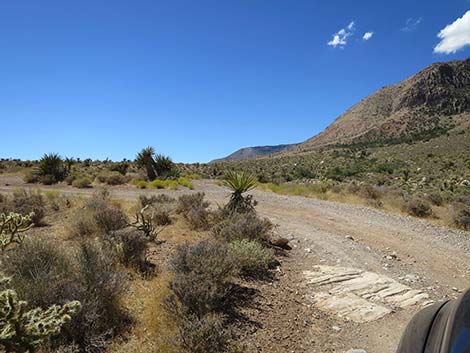
 Wildhorse Road winding across rolling terrain (view NW) |
 Wildhorse Road approaching Lone Grapevine Road (view NW) |
 Wildhorse Road at Lone Grapevine Road (view NW) |
 Lone Grapevine Road (view NE from Wildhorse Road) |
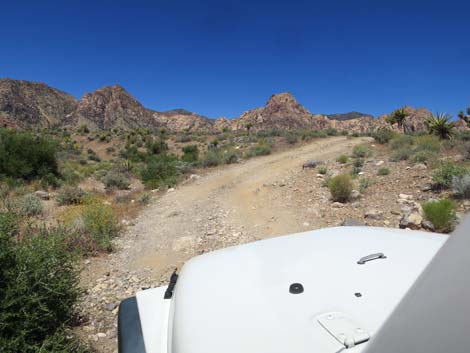
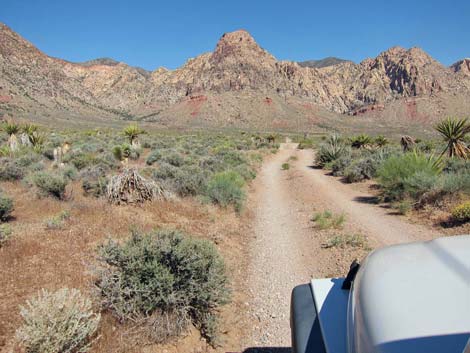
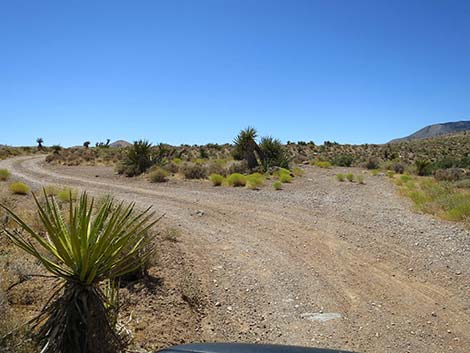
 Wildhorse Road winding across rolling terrain (view NW) |
 Wildhorse Road winding across rolling terrain (view NW) |
 Approaching 2WD parking for Lone Grapevine Spring Trail (view NW) |
 2WD Lone Grapevine Spring Trail parking; steep gully ahead |
 Wildhorse Road approaching a steep-sided gully (view NW) |
 Road into gully is steeper and looser than it looks (view NW) |
 Looking ahead: people are creating a bypass for the bad part |
 Descending into the deep gully (view NW) |
 Climbing out of the gully is steeper than it looks (view NW) |
 Steep road with moguls dug out by spinning tires |
 Steep road with moguls dug out by spinning tires |
 Just beyond the steep-sided gully (view NW) |
 Approaching Lone Grapevine Spring trailhead parking (view NW) |
 Lone Grapevine Spring trailhead parking (view NW) |
 Approaching Lone Grapevine Spring trailhead parking (view NW) |
 Lone Grapevine Spring trailhead parking (view NW) Lone Grapevine Spring trailhead parking (view NW) |
 Lone Grapevine Spring trail departs the parking area (view NW) |
 Passing Lone Grapevine Spring trailhead parking (view SW) |
 Passing Lone Grapevine Spring trailhead parking (view SW) Passing Lone Grapevine Spring trailhead parking (view SW) |
 Wildhorse Road climbing past the parking area (view SW) |
 A bike trail crosses Wildhorse Road (view SW) |
 Another parking area on the right (view SW) |
 Wildhorse Road (view SW) |
 Approaching a small parking area on the right (view S) |
 Small parking area on the right (view S) |
 |
 |
 Another parking area (trailhead for Two-Springs Loop Trail; view S) |
 Wildhorse Road approaching another bike trail crossing (view S) |
 Another bike trail crosses Wildhorse Road (view SW) |
 Wildhorse Road runs parallel to a bike trail (view SW) |
 Approaching a small parking area on the right (view S) |
 Wildhorse Road (view SW) |
 Approaching another small parking area on the right (view S) |
 Wildhorse Road with lots of rocks (view S) |
 Wildhorse Road at a well-used illegal campsite (view S) |
 Another bike trail crosses Wildhorse Road (view SE) |
 Wildhorse Road entering a burn zone (view SE) |
 Wildhorse Road crosses a burn zone (view SE) |
 Wildhorse Rd at a bypass that is worse than the main road (view SE) |
 Not-so-good bypass (view E from Wildhorse Road) |
 Continuing through the fire zone (view SE) |
 Las Vegas in the distance (view E) |
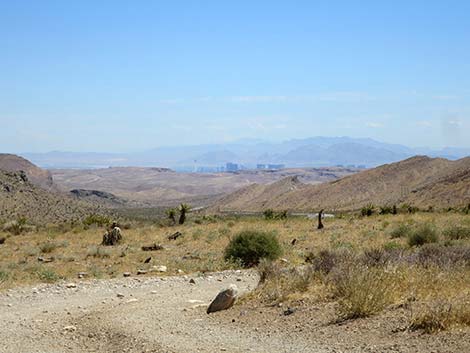 Las Vegas in the distance (zoom, view E) |
 Bypass returns to Wildhorse Road (view SE) |
 Wildhorse Road continuing past the bypass (view S) |
 Road worked as a fire line: burn on the right; unburned on the left |
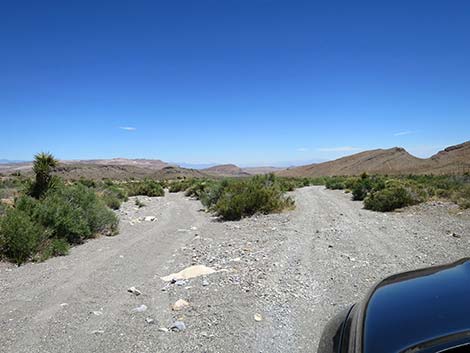
 Wildhorse Road approaching a road intersection (view SE) |
 Wildhorse Road at road intersection (view SE) |
 Looking left, both roads are closed to vehicles (view NE) |
 Sign between the closed roads: No Motor Vehicles (view NE) |
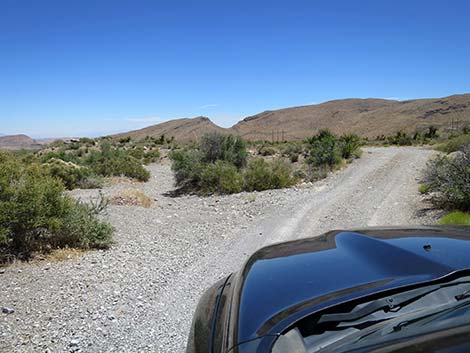
 Wildhorse Road stays right at road intersection (view SW) |
 Wildhorse Road drops into Cottonwood Valley Wash (view SW) |
 Wildhorse Road at a tight spot (view SW) |
 Wildhorse Road approaching main Cottonwood Valley Wash (view S) |
 Wildhorse Road entering Cottonwood Valley Wash (view S) |
 Wildhorse Road bends sharply left and down the wash (view S) |
 Wildhorse Road curves left down broad gravel wash (view NE) |
 Wildhorse Road in Cottonwood Valley Wash (view E) |
 Wildhorse Road in Cottonwood Valley Wash (view NE) |
 Wildhorse Road stays right in Cottonwood Valley Wash (view E) |
 Wildhorse Road exiting Cottonwood Valley Wash (view E) |
 Parking area on firm ground at edge of wash (view E) |
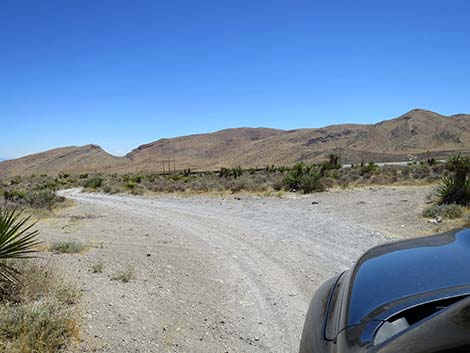
 Wildhorse Road approaching Highway 160 (view E) |
 Wildhorse Road approaching Highway 160 (view SE) |
 Wildhorse Road crosses cattle guard onto Highway 160 (view SE) |
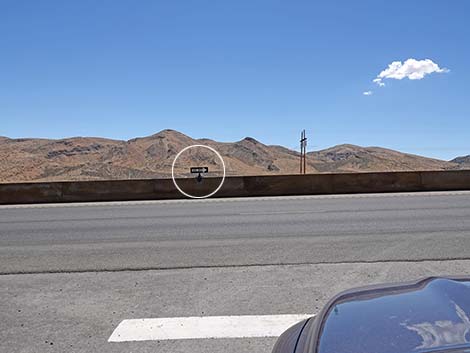 Wildhorse Road at Highway 160; note directional sign (view SE) |
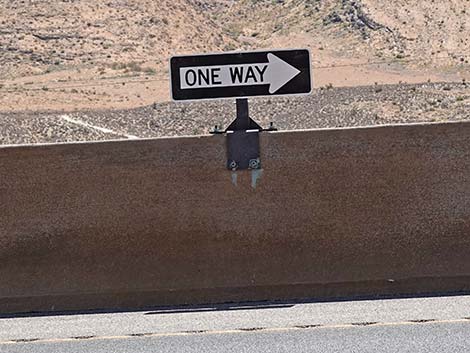 Sign: One Way to the right (no left turn; view SE) |
 More to come ... |
Table 1. Backroad Coordinates Based on GPS Data (NAD27; UTM Zone 11S). Download Roadway GPS Waypoints (*.gpx) file.
| Site | Location | Easting | Northing | Elevation | Latitude | Longitude | Verified |
|---|---|---|---|---|---|---|---|
| 0519 | Charleston Blvd at Scenic Loop Entrance | 642120 | 3999525 | 3,681 | 36.13183 | 115.42059 | Yes |
| 0848 | Hwy 160 at Blue Diamond Rd | 647933 | 3988875 | 3,169 | 36.03498 | 115.35801 | Yes-2 |
| 1072 | Late Night Parking | 641416 | 3986150 | 3,930 | 36.01139 | 115.43080 | GPS |
| 1075 | Lone Grapevine Trailhead Parking | 639480 | 3986554 | 4,036 | 36.01531 | 115.45221 | GPS |
| 1085 | Lone Grapevine Rd at Wildhorse Road | 639781 | 3986369 | 4,056 | 36.01360 | 115.44891 | GPS |
| 1086 | Wildhorse Road at 2WD Parking | 639604 | 3986478 | 4,040 | 36.01460 | 115.45085 | GPS |
| 1087 | Wildhorse Road at 5-way intersection | 639799 | 3984924 | 4,327 | 36.00057 | 115.44896 | GPS |
| 1088 | Wildhorse Road at Wash | 639723 | 3984734 | 4,358 | 35.99887 | 115.44983 | GPS |
| 1089 | Hwy 160 at Wildhorse Road (west) | 640188 | 3984900 | 4,251 | 36.00030 | 115.44465 | GPS |
| 1090 | Hwy 160 at Wildhorse Road (east) | 640960 | 3985735 | 4,056 | 36.00772 | 115.43594 | GPS |
| 1091 | Wildhorse Road at Side Rd | 640552 | 3985890 | 4,080 | 36.00917 | 115.44044 | GPS |
| 1092 | Wooden Fence Spring Parking | 639382 | 3986267 | 4,096 | 36.01274 | 115.45335 | GPS |
Happy Hiking! All distances, elevations, and other facts are approximate.
![]() ; Last updated 240330
; Last updated 240330
| Backroads | Hiking Around Las Vegas | Glossary | Copyright, Conditions, Disclaimer | Home |